
One of the benefits of going with an all-Apple ecosystem is having devices that work together, and Apple’s Continuity Camera is a great example. Using an iPhone or iPad, you can quickly get images into documents on a Mac.
As with all things, there are some prerequisites that you need to have in place before you can take advantage of Continuity Camera. You’ll need to have a Mac and an iPhone or iPad, and both will need to have Wi-Fi and Bluetooth enabled. They’ll also need to be signed into the same iCloud account, and that account will also need to have two-factor authentication enabled. There is a minimum software level required, too: macOS Mojave on the Mac, and iOS 12 on the iPhone or iPad.
There are plenty of apps with which you can use Continuity Camera, but they are all first-party Apple solutions. It’s unclear whether that is a limitation or something that will change in time, but at the time of writing the following apps all support Continuity Camera:
- Finder
- Keynote
- Messages
- Notes
- Numbers
- Pages
- TextEdit
With all of those conditions met, using Continuity Camera falls into two different situations: taking a photo or scanning a document.
Taking a Photo
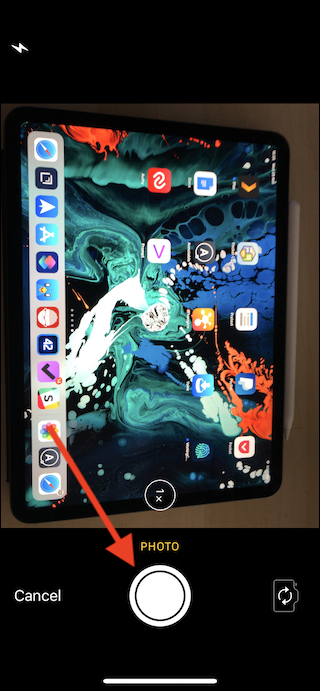
To get started, open the application and document where you want to import the photo on your Mac. Next, right-click on the document or window and select the “Import from iPhone or iPad” option, followed by “Take Photo.”

On your iPhone or iPad, tap the shutter button to take the photo and then tap “Use Photo.” Your photo will then automatically appear on your Mac.
Scanning a Document
Read the remaining 7 paragraphs
from How-To Geek https://ift.tt/2KXEg5b
via IFTTT


No comments:
Post a Comment